Quick and dirty usability testing setup for mobile applications
Dan Guilak // Mar 30th, 2017
I don't need to sing the praises of usability testing, many before me have done that—even the government—but bear with me. When you're staring at the product you're developing all day every day, you become numb to the small (and big) idiosyncrasies that are likely having drastic effects on how people interact with it. Half an hour with a fresh pair of eyes can yield huge returns in product priorities.
I also won't go into detail on how to actually perform usability testing, there are many great resources for that as well (Steve Krug's Rocket Surgery Made Easy is a fantastic one). I'm just here to share my physical setup so you can spend less time planning and more time testing. You really only need a couple things to make this work.
With a camera
Because I'm testing a mobile application, I really need to see how people are interacting with it—swipes, taps, frustration, etc. If that doesn't interest you, go ahead and skip to the next section, Without a camera.
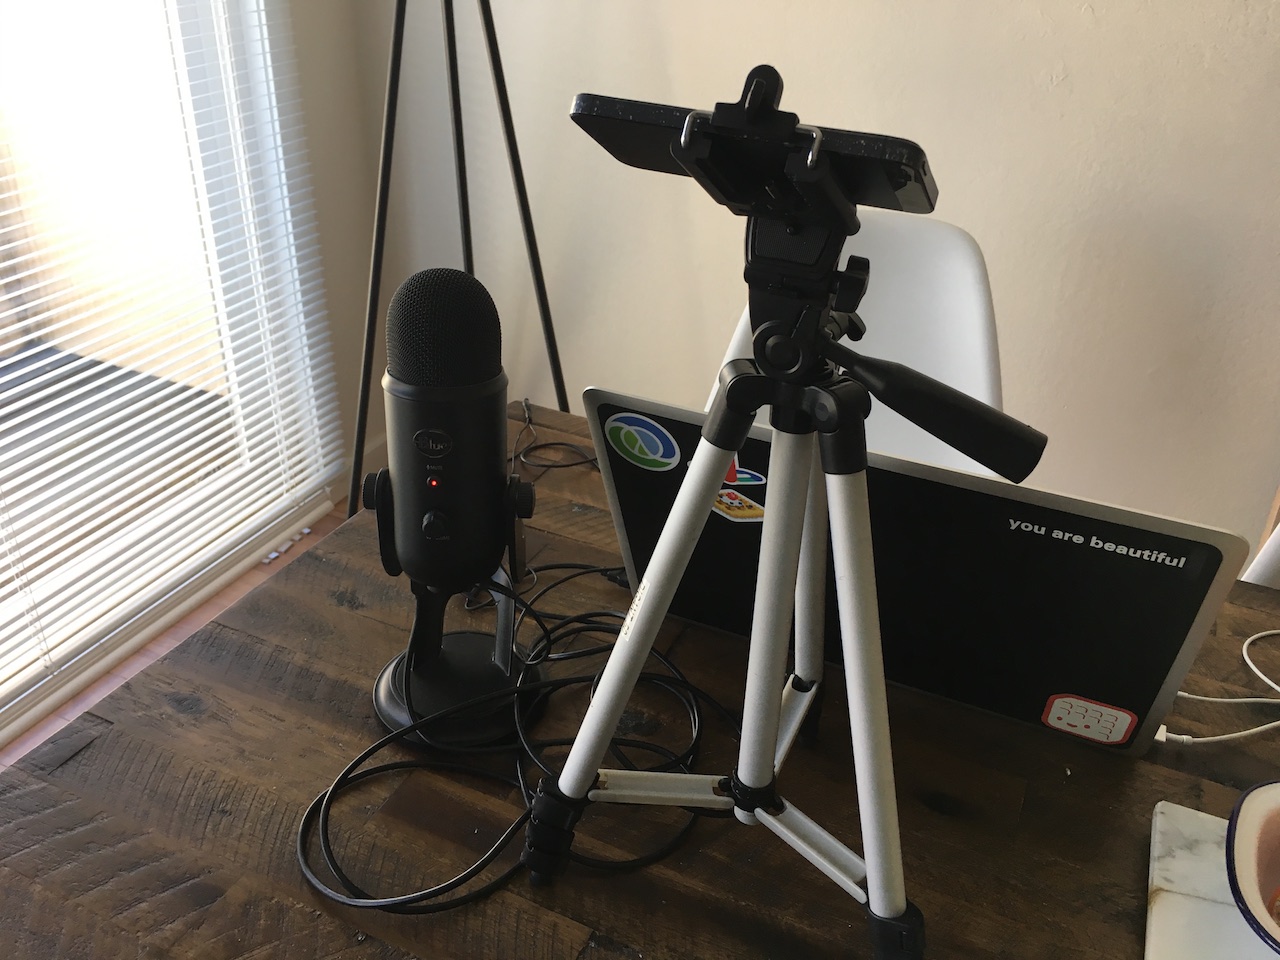
- Tripod
- Doesn't need to be expensive, just needs to be able to hold your video camera (or in my case, my phone)
- I went with this one that I found on Amazon that already had a phone mount included.
- Microphone (optional)
- You can definitely just use the one on your phone, but I bought a Blue Yeti for recording oral histories from my grandparents, so I just used that since the audio quality is fantastic.
- I used Audacity to record and export to mp3.
... and that's really it. I set up the tripod to hold the phone down at the table where my subject was testing our product, hit record on both the phone and Audacity, and asked my questions.
I recorded video on my phone and audio through the microphone separately, because it's not an easy feat to use your iPhone as a camera input to your Mac. But following these steps it was easy enough in iMovie to sync up the external audio I took through Audacity with the video from my iPhone.
Without a camera
Don't need a camera? If you're on macOS and your test subject doesn't mind, you can use QuickTime Player to record their screen:
- Connect their phone to your computer
File -> New Movie Recording- Next to the red record button there's a little down arrow. Use that to select the connected iPhone as the camera
- Select the appropriate microphone (or just leave it as default to use your computer's mic)
- Hit record!
This method works well, but if you're usability testing a mobile app you're not going to be able to see where your users are touching, swiping, dragging, etc. There are some workarounds, such as using AssistiveTouch, but if your subjects are testing with their own devices you may not want to go down this avenue.
Hope this encourages you to go out and do some quick and dirty usability testing!